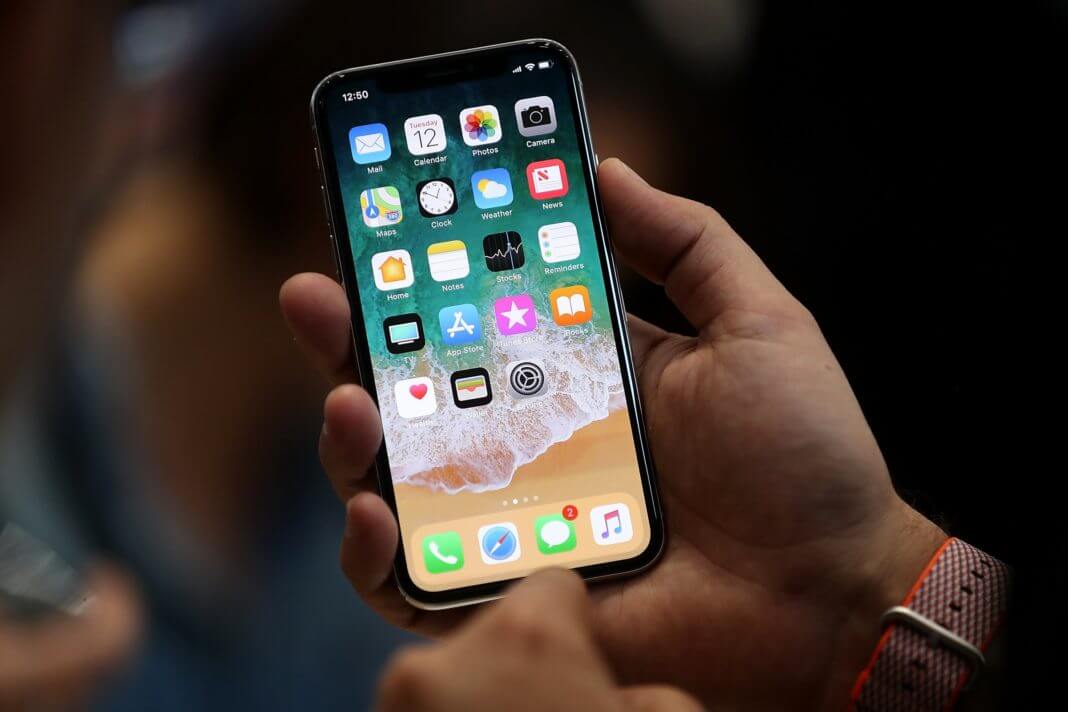
Have a cracked or broken iPhone 6s Plus display? Are you now looking for iPhone 6s plus screen replacement, Apple store is the best option. However, there are some other options like you can do find a cheap local repair authorized by Apple or you even do it yourself at home.
Is the iPhone screen working perfectly?
Sometimes a full shattered screen works perfectly, in such a situation there is no need to go for costly repair work to replace the iPhone screen. One can opt for a screen protector in such a situation to avoid further damage with a neat and smooth contact feel. Although eventually, you will need a screen replacement this trick can delay things a little bit.
iPhone screen replacement in simple steps
1. Turn off your iPhone
Use the power button to turn off your iPhone. This step is important and omission can lead to serious consequences including but not limited to data loss or any other circuit problem. Wait 10 seconds after the iPhone screen completely disappear.
2. Removing body screws
Take the screwdriver and open the lower body screws at the sides of the charging port. Save the removed screws with the same orientation, as you need to replace them back on reassembling.

3. Separating front panel from the lower body

Now use a suction cup and place is firmly on iPhone 6s plus screen then try to lift up with constant but gentle force. If things are not working then you must heat up the front panel a little bit, experts have a piece of special equipment i.e. heat gun for that purpose but you can also use a hairdryer.
Now as the screen lifts up a few millimeters, work forward on the lower body to remove the adhesive further and disassemble screen entirely from the lower body.
Ишара: if the screen is severely damaged and the suction cup is not working properly, then you must use packing tape on the entire screen before the above procedure to carry out repair work without any inconvenience.
4. Safely remove the battery connection
Look for the battery connection points and unscrew the protective layer then remove the connector. This helps to remove static charge from the entire board and avoid any mishandling related problems.

5. Removing the front display connections
First, you have to remove the protective shield right above the connector points as shown in the picture. Keep the screw orientation secure with you as you have to put them in place in the same direction.
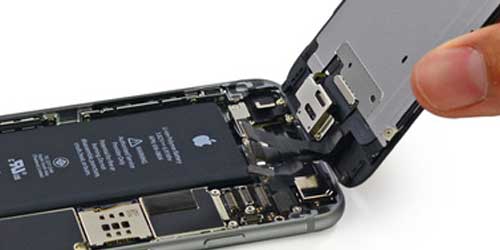
Now start disconnecting the overlapping connectors of the front panel which includes, front camera/earpiece/microphone, display, and touch panel connections.
Connect the new display assembly temporarily at the connection points and turn-on iPhone to see if the display turns on or not.
6. Disassembling the front panel
It’s time to open the front panel and put-in a new assembly and remove the old LCD display.
- First of all, remove the protective shield for earpiece by unscrewing and then remove the earpiece connector and its entire assembly gently.
- Before that, you may have to remove the front camera cable slightly which is covering the earpiece.
- Now remove the front camera and sensor set by using your spudger and can also use the sensor cables to pull out assembly but be gentle.

- After that, remove all eight screws from the protective steel layer on the back of the LCD panel. Be sure to save the same orientation to place them back as it is. Next, disassemble the home button by removing the protective layer first. Disconnect the cable connection and put your spudger below the cable and gently remove the adhesive bind between home button cable and lower body.
- Lift up the home button and remove the old LCD panel from its place.
7. Placing the new display in the front panel
You may have to take back some parts from old display depending on the assembly comes with a new display, as not all manufacturers offer complete items. This can include front camera and sensor bracket, both are lightly glued in place.
- Put the new LCD panel in place and then install the home button and make its connection.
- Attach the cover shields for both the home button and LCD and screw up.
- Now put the ambient microphone to its position and put the sensors in their place carefully.
- Install the earpiece on its previous position, then screw up the protective shield back in its position.
8. Making display panel connections
Carefully connect the ports as they were before, but don’t bend the strips as this can cause serious damage resulting in a blank LCD, no touch ID, or no front camera at all.
- Connect the battery to the phone and start your iPhone and check that battery is working fine or not.
- Now pack back the front panel and lower motherboard part, start by closing the upper edge gently, and slowly fold it completely to join it back. Gently press the edges of the screen to make the adhesive connection firmly.
- Now put back the lower body screws at the right and left the side of the charging port.
That’s all, hurrah your iPhone is now ready to serve you again.
Бул постко канчалык пайдалуу болгон?
аны баалоо үчүн жылдыз жөнүндө Click!
орточо рейтинг / 5. Добуш саны:


